MAGAZINE
ルーターマガジン
Rails ToDoアプリでアカウント登録とDBのCRUD操作をRSpecとheadless chromeでテストする(WSL環境)

こんにちは。アルバイトのハオと申します。初めての記事で、よろしくお願いいたします。
Ruby on Rails (略称Rails) は、Webアプリのフレームワークであります。
今はRailsを使って会社の内部向け運用管理画面を構築しています。最近この管理画面に対してテストをしまして、テスト作成の経験をシェアしたいと思います。
今回の記事は、こちらを参考にして作成した、タスク管理アプリ(todoアプリ)に対するテストをテーマにします。
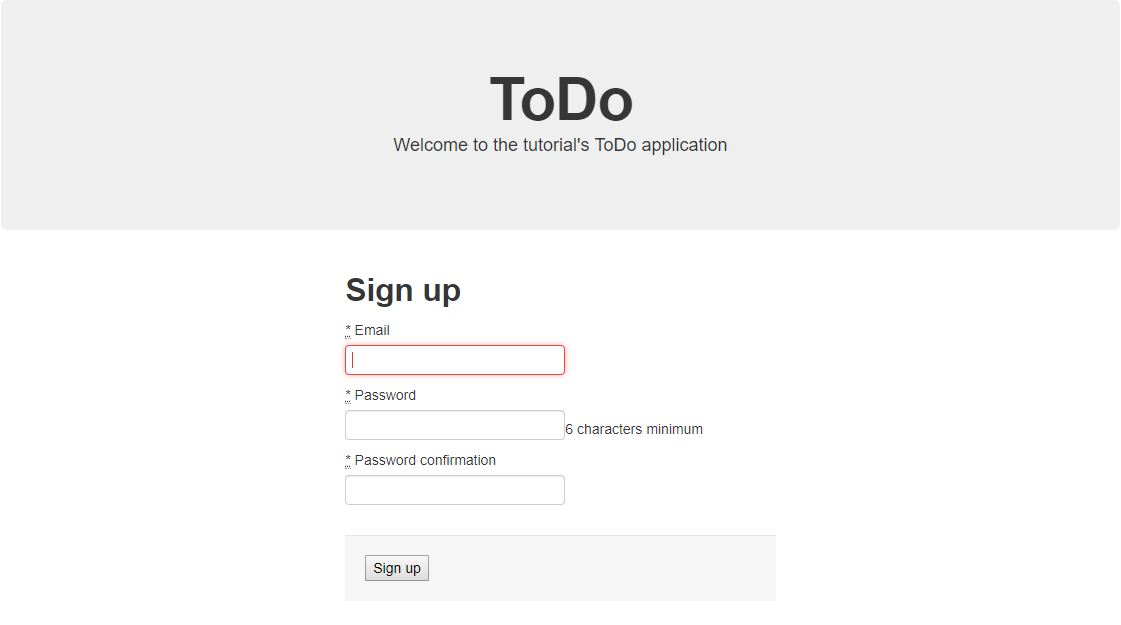
少しこのアプリを紹介します。このアプリはユーザー新規登録、ログイン、そしてユーザーのタスクの新規追加、更新、削除ができます。これからアプリの画面を見せます。
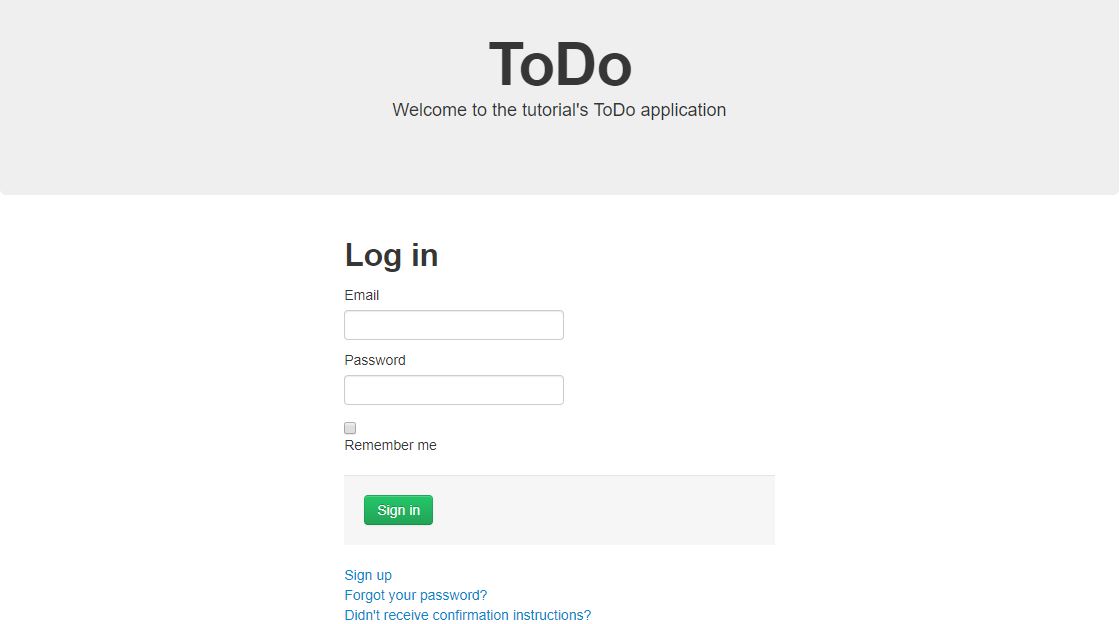
まずはユーザー新規登録、ユーザーログインの画面です。
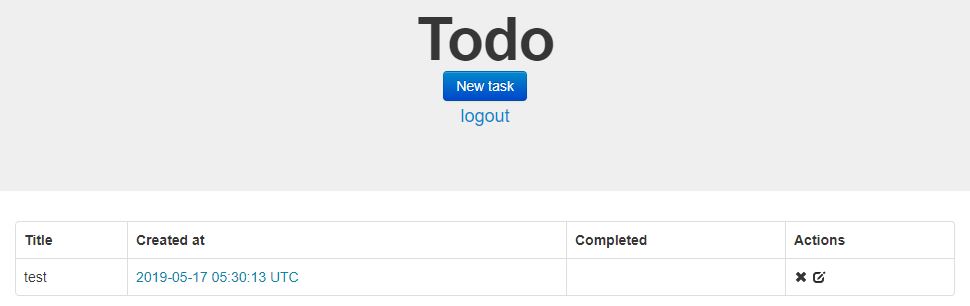
タスク一覧画面です。ログインしているユーザーのタスクを全部表します。上にタスク新規追加のボタンがあり、タスク行の右に編集と削除ボタンもあります。
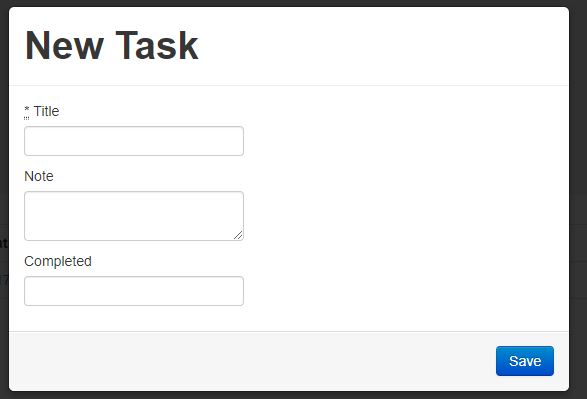
タスク新規追加の画面です。タイトル、ノート、タスク完成の時間を入力できます。
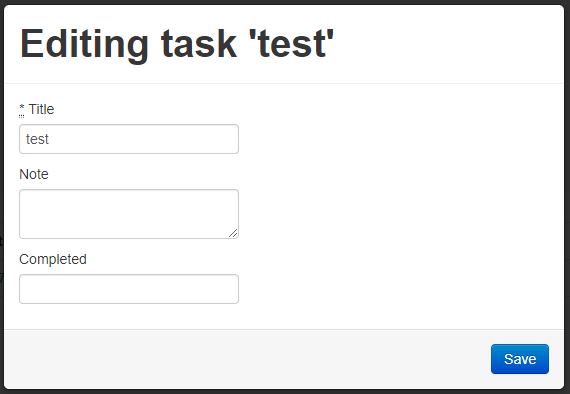
タスク編集の画面です。タイトル、ノート、タスク完成の時間を更新できます。
では、テストの作成に入りましょう。
chromedriverをダウンロード
テストのため、chromedriverでgoogle chromeを起動する必要があります。
持っているgoogle chromeのバージョンと合致したchromedriverをダウンロード。
WSLの方はwindows環境にダウンロードし、chromedriver.exeをCドライブに移します。
例えば、僕はC:\Program Files\chromedriver_win32\に移しました。
あとでchromedriverへのパスを指定します。
必要なgemをインストール
Gemfile のtest グループを以下の通りに編集
group :test do
gem 'capybara', '>= 2.18'
gem 'rspec-rails', '>= 3.7' #追加
gem 'selenium-webdriver'
gem 'capybara-email' #追加
gem 'email_spec' #追加
# 下の行を削除してください
# gem 'chromedriver-helper'
end
今回はheadless chromeを使うため、chromedriver-helperはいりません。ちなみにchromedriver-helperはサポートがもう終了したようです(https://github.com/flavorjones/chromedriver-helper)
追加したgemをインストール
$ bundle install
テスト環境の設定
$ bundle exec rails g rspec:install
を実行することで、spec/rails_helper.rbとspec/spec_helper.rbが新規作成されます。
まずspec/spec_helper.rbを編集しましょう。ファイルに、ダウンロードしたchromedriverのパスを指定:
require 'selenium-webdriver'
Selenium::WebDriver::Chrome.driver_path = "/mnt/c/Program Files/chromedriver_win32/chromedriver.exe"
同じファイルの下にあるRSpec.configureの設定で、config.formatter = :documentationを追加することをおすすめです。これによってテストするときに、scenarioごとにタイトルが出力されます。
RSpec.configure do |config|
  config.expect_with :rspec do |expectations|
    expectations.include_chain_clauses_in_custom_matcher_descriptions = true
  end
  config.mock_with :rspec do |mocks|
    mocks.verify_partial_doubles = true
  end
  config.shared_context_metadata_behavior = :apply_to_host_groups
  # Print the name of each scenario
  config.formatter = :documentation #追加
end
次はspec/rails_helper.rbです。capybara/railsとcapybara/email/rspec'をインポート:
require 'capybara/rails'
require 'capybara/email/rspec'
続いてheadless chromeに関する設定を追加:
Capybara.default_driver = :selenium_chrome_headless

Capybara.register_driver :selenium_chrome_headless do |app|
  options = Selenium::WebDriver::Chrome::Options.new
  options.add_argument('headless')
  options.add_argument('--disable-gpu')
  Capybara::Selenium::Driver.new(app, browser: :chrome, options: options)
end
続いて下のActiveRecordに関する設定を削除してください:
begin
  ActiveRecord::Migration.maintain_test_schema!
rescue ActiveRecord::PendingMigrationError => e
  puts e.to_s.strip
  exit 1
end
これを無効にしないと、テスト時に自動的にDBにmigrationがかかってしまいます。既にDBにテーブルが存在していてmigrationを使わない方にとっては、DBの内容を消去されてしまう恐れがあります。
続いて同じファイルの下にあるRSpec.configureの方を編集します。
RSpec.configure do |config|
  config.include Capybara::DSL #追加
  config.fixture_path = "#{::Rails.root}/spec/fixtures"
  # 次の行を削除またはコメントアウト又はfalseにしてください
  # config.use_transactional_fixtures = true
  config.infer_spec_type_from_file_location!
  config.filter_rails_from_backtrace!
end
メールに関する設定
今回テスト対象としたToDoアプリの場合、テストアカウントを新規登録する際に確認メールが送信されますので、それについても設定しなければなりません。
config/environments/test.rbを編集しましょう。
まず以下の行があるかどうか確認:
config.action_mailer.delivery_method = :test
この設定で、実在するメールアドレスへの送信は行われなくなります。
そしてホストを追加:
config.action_mailer.raise_delivery_errors = true
config.action_mailer.default_url_options = { :host => 'localhost', :port => '3000' }
テストファイルの作成
以下のコマンドを実行してテストファイルを作成してください。
$ mkdir spec/features/
$ vim spec/features/todo_spec.rb
このサイトを参考してテストを書きましょう。
spec/features/todo_spec.rbの中身:
require "rails_helper"

feature "Todoアプリ、アカウントとタスクのテスト" do
  given(:email) { 'example@rooter.co.jp' }
  given(:password) { '000000' }

  scenario "アカウントを新規登録テスト" do
    visit "/users/sign_up" #新規登録画面へ
    fill_in "user_email", with: email
    fill_in "user_password", with: password
    fill_in "user_password_confirmation", with: password

    click_button "Sign up"
    sleep 3

    open_email(email) #確認メールを開く
    current_email.click_link 'Confirm my account' #アカウント確認リンクを押す

    new_user = User.find_for_authentication(email: email)
    expect(new_user).to be_confirmed #アカウントが確認されたかどうか
  end

  feature "登録したアカウントでテスト" do
    background do
      visit root_path #ホームページにアクセスし、まだログインしていないのでログイン画面に自動遷移
      fill_in "user_email", with: email
      fill_in "user_password", with: password
      click_button "Sign in"
    end

    scenario "タスク新規" do
      click_on "New task" #タスク新規の画面を開く
      fill_in "task_title", with: "test new task"
      click_on "Save"

      expect(page).to have_selector('td string', text: "test new task")
    end

    scenario "タスク編集" do
      find("i.icon-edit").click #タスク編集の画面を開く
      fill_in "task_title", with: "test edit task"
      click_on "Save"

      expect(page).to have_selector('td string', text: "test edit task").and have_no_selector('td string', text: "test new task")
    end

    scenario "タスク削除" do
      page.accept_alert do
        # 警告が出てくるアクションをこの中に包む
        find("i.icon-remove").click
      end

      expect(page).to have_no_selector('td string', text: "test edit task").and have_no_selector('td string', text: "test new task")
    end

    scenario "アカウントを削除テスト" do
      visit "/users/edit" #アカウント編集画面へ

      page.accept_alert 'Are you sure?' do
        # 'Are you sure?'警告が出てくるアクションをこの中に包む
        click_link "Cancel my account"
      end
      sleep 3

      user = User.find_by(email: email)
      expect(user).to eq nil
    end

  end
end
テストを実行しましょう!
$ bundle exec rspec spec/features/todo_spec.rb
緑文字ばかりで、赤い文字がなければ成功です。
参考資料
CONTACT
お問い合わせ・ご依頼はこちらから